If you're a power user who recently upgraded to the Mac Studio , you're likely taking advantage of its impressive performance and multiple Thunderbolt 4 ports. However, many users have encountered a surprising issue: after connecting more than two NVMe enclosures, the third drive fails to mount or is recognized only as a USB 3.1 device instead of Thunderbolt.
In this article, we’ll break down why this happens and what you can do to resolve it.
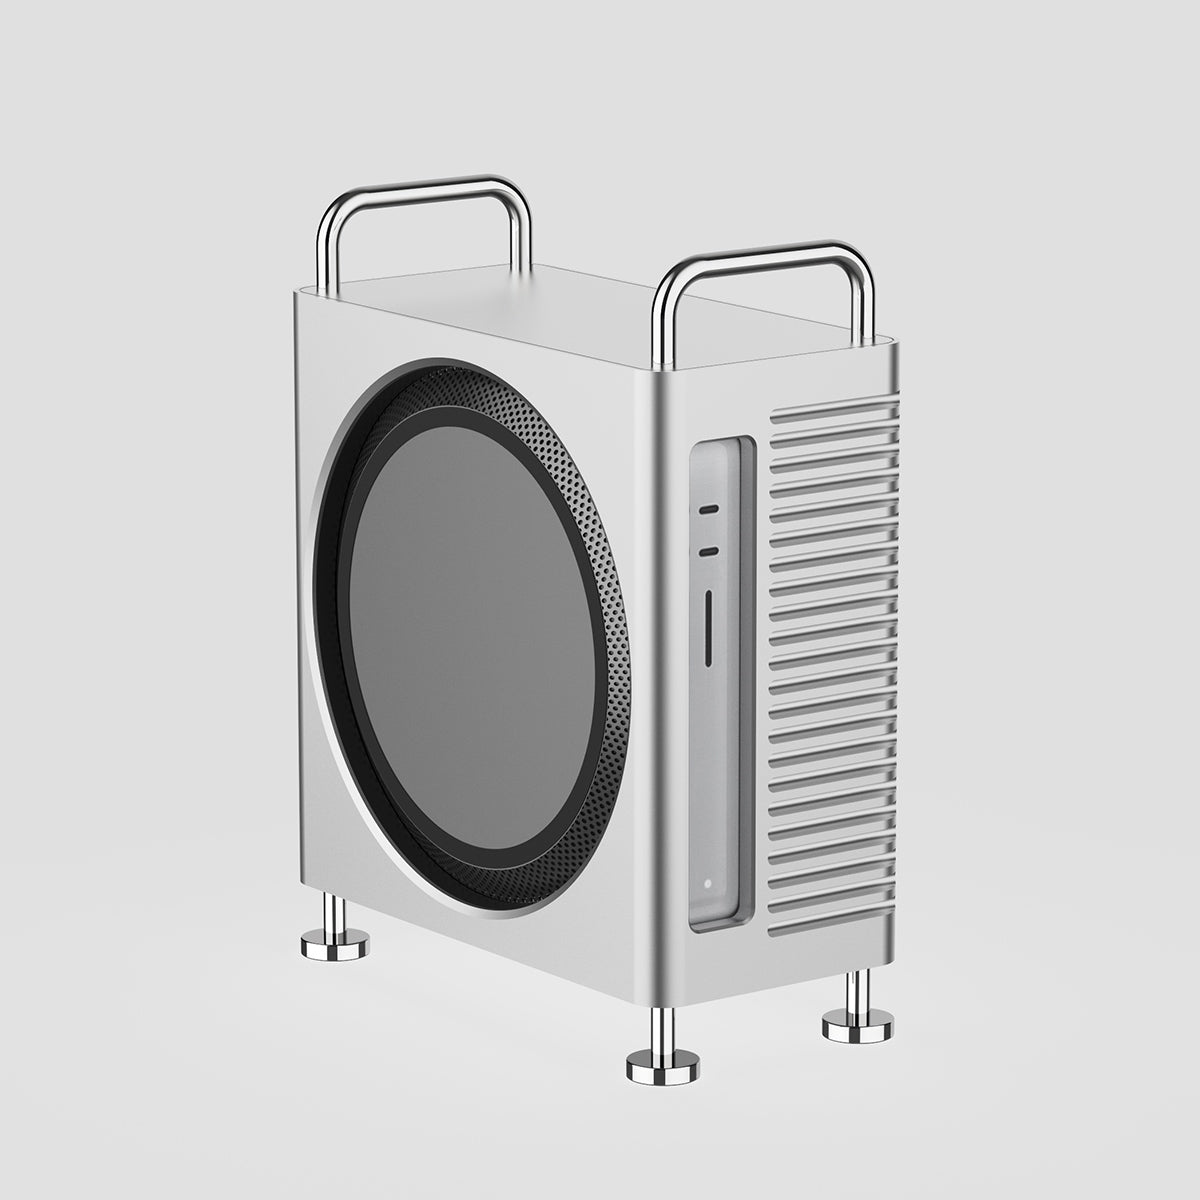
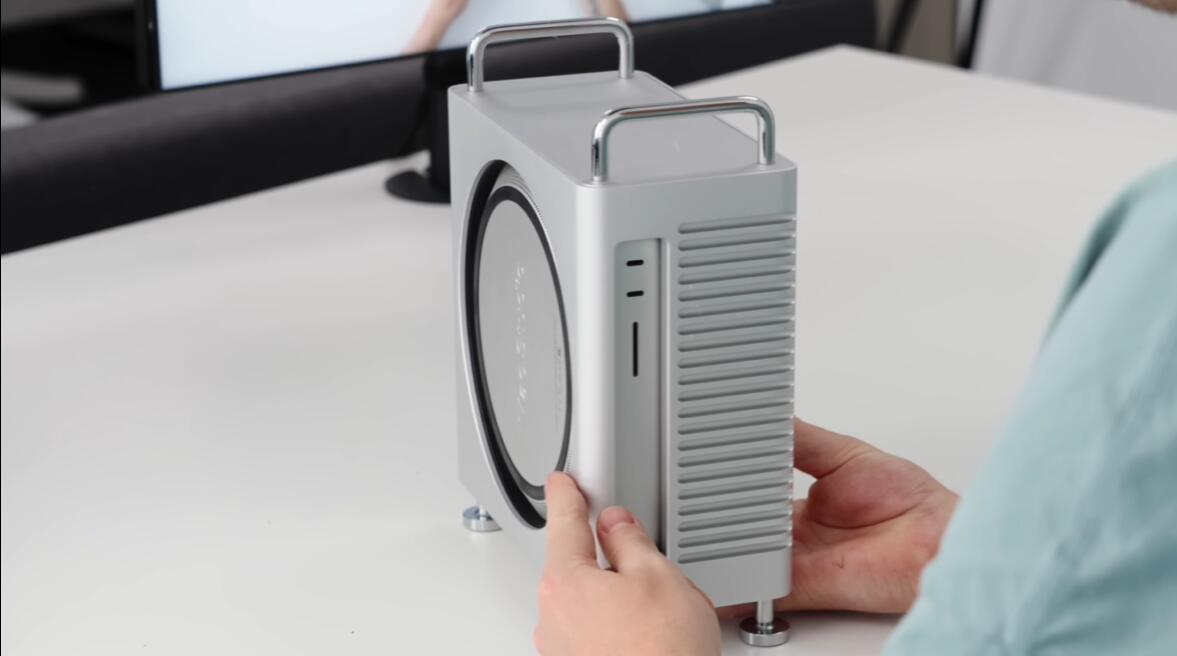
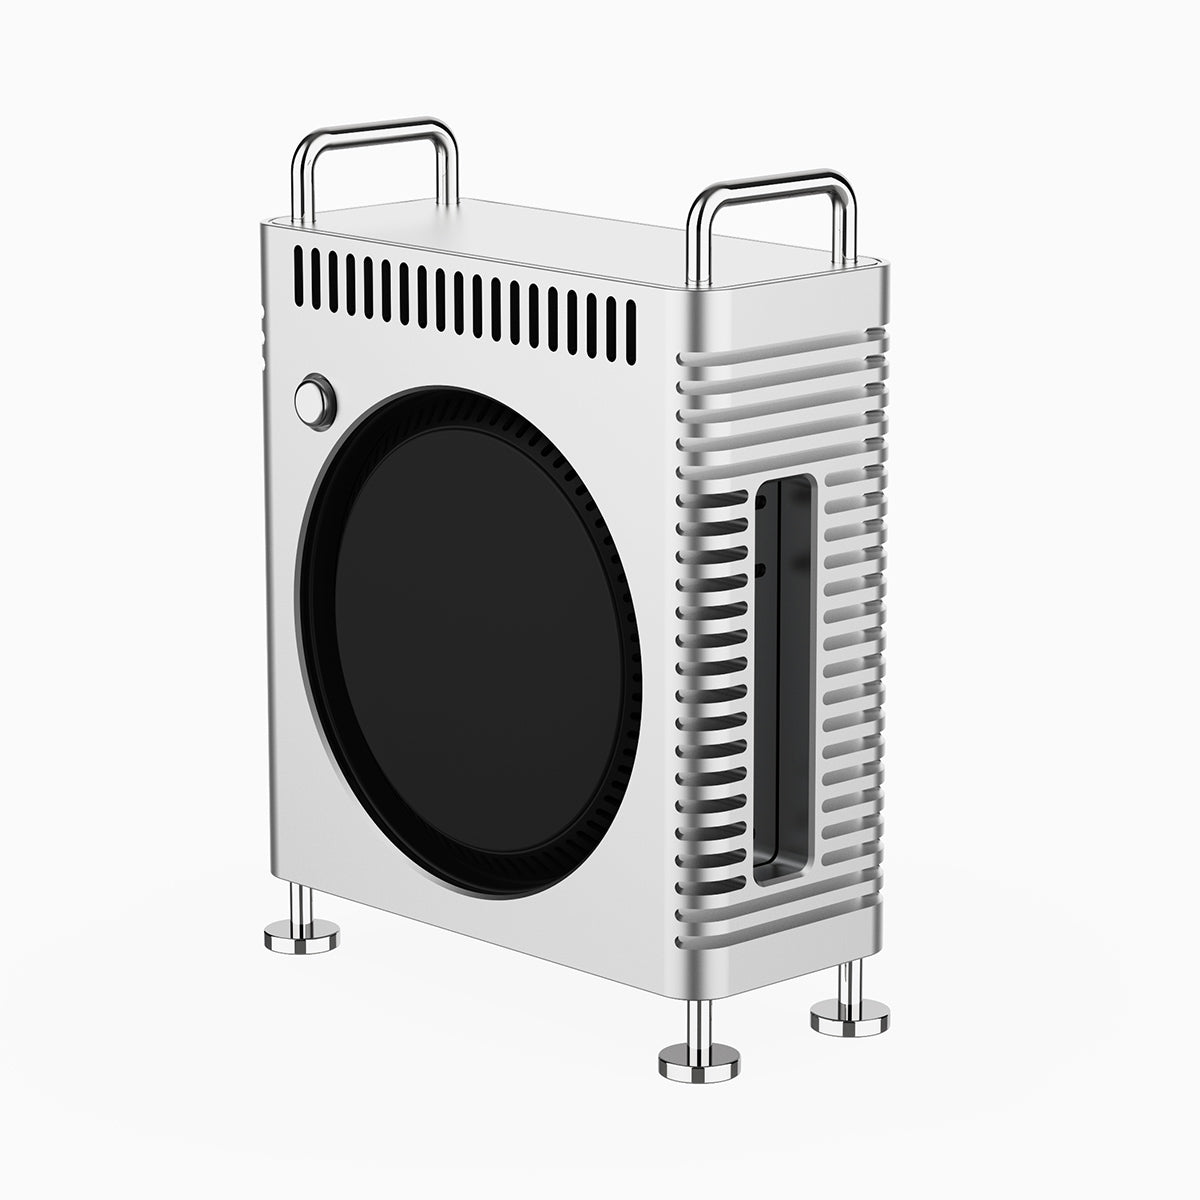
ZEERA MacForge Studio:CNC Aluminum Cooling Case for Mac Studio
CNC Aluminum Cooling Case for Mac Studio with Mac Pro Enclosure Design
Shop Now
The Problem: Third NVMe Drive Won’t Mount or Mounts as USB 3
Despite the Mac Studio M4 Max having four Thunderbolt 4 ports, users have reported that only two NVMe drives mount properly. When a third Thunderbolt NVMe enclosure is plugged in, it either:
-
Doesn't mount at all
-
Shows up as a USB 3.1 device (dramatically reduced performance)
-
Causes another device to unmount
This problem appears across macOS versions and occurs even with verified Thunderbolt-certified NVMe enclosures.

Why This Happens: Power and Bandwidth Limitations
The root of the issue lies in a combination of power delivery limits and Thunderbolt controller behavior on macOS.
1. Bus Power Limitations
Most Thunderbolt NVMe enclosures are bus-powered, meaning they draw electricity directly from your Mac Studio’s ports. However, each Thunderbolt bus (controller) has a limited power budget, typically around 15W total. Once this threshold is exceeded, macOS may:
-
Prevent the device from mounting
-
Fall back to USB mode, which uses less power
2. macOS Thunderbolt Resource Management
macOS attempts to dynamically manage Thunderbolt connections for stability. If it detects insufficient power or bandwidth for a new device, it will downgrade the connection or reject the device entirely.
3. Hardware Controller Limits
While the Mac Studio M4 Max technically has multiple Thunderbolt buses, not all ports are fully independent. Two or more ports might share the same internal controller, compounding bandwidth and power issues.
How to Fix It: 4 Proven Solutions
1. Use a Powered Thunderbolt Dock or Hub
A powered Thunderbolt dock like the CalDigit TS4 or OWC Thunderbolt Hub can supply clean, independent power to your NVMe enclosures. This takes the strain off your Mac’s built-in Thunderbolt ports.
2. Choose NVMe Enclosures with External Power Support
Some high-performance enclosures (e.g., Sabrent EC-T3DN) allow optional DC power input. Plugging in external power ensures the drive doesn't rely on your Mac's Thunderbolt port power.
3. Distribute Devices Across Separate Controllers
Try plugging devices into different sides or ports of the Mac Studio to spread the load across different controllers. This can sometimes help with power balancing.
4. Avoid Mixing USB-C and Thunderbolt Devices on the Same Bus
Mixing USB-C peripherals and Thunderbolt drives on the same controller can cause instability. For best results, isolate high-speed NVMe enclosures from USB hubs or slower accessories.
Bonus Tip: Improve Cooling and Accessibility with a Custom Mac Studio Case
To further optimize your Mac Studio setup, consider using a high-performance enclosure like the ZEERA MacForge Studio CNC Aluminum Cooling Case.
This premium CNC-machined aluminum case offers:
-
Enhanced passive cooling design with large ventilation cutouts
-
Sleek, Mac Pro-inspired aesthetics
-
Improved airflow and thermal efficiency during heavy I/O loads
-
Easy access to rear ports and cable management


Conclusion
The Mac Studio is a powerhouse, but like all systems, it has real-world limitations. If your third NVMe enclosure won’t mount or defaults to USB 3 mode, the problem likely lies with bus power limitations and macOS Thunderbolt management, not with the drives themselves.
By using powered docks, externally powered enclosures, and careful port management, you can get the most from your Thunderbolt storage setup and enjoy full-speed NVMe access on all your drives.