Updated July 23, 2026
Quick Answer
To turn off iCloud Private Relay on an iPhone, iPad or Mac, your Apple Account must have access to iCloud+. If you use only the free iCloud plan and do not receive iCloud+ through Apple One or Family Sharing, Private Relay is not active and there is nothing to turn off.
On an iPhone or iPad, go to Settings > your name > iCloud > Private Relay. On a Mac, open System Settings, click your Apple Account name, select iCloud, and open Private Relay.
Depending on your software version and interface language, you may see options such as temporarily turning Private Relay off until tomorrow or disabling it completely.
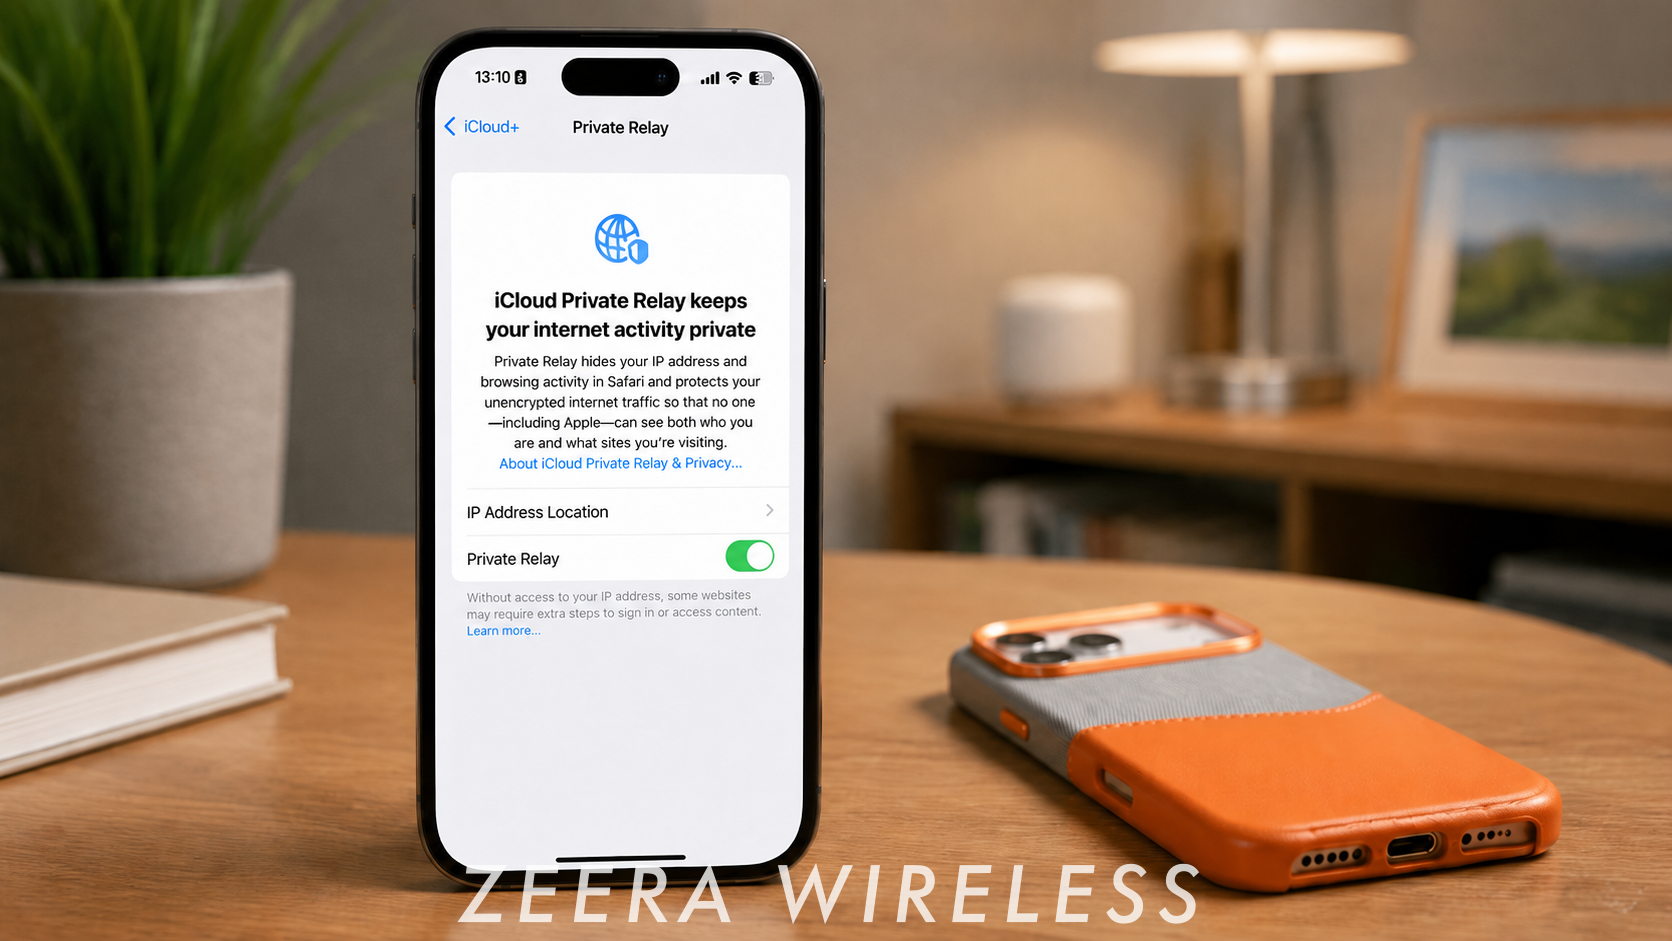
iCloud Private Relay helps protect your browsing privacy by hiding your IP address and separating information about who you are from the websites you visit. Apple describes it as primarily protecting Safari browsing while also covering DNS name-resolution requests on supported Apple devices.
Some websites, hotel Wi-Fi networks, business systems and filtering services may not work correctly with Private Relay. This guide explains how to turn off iCloud Private Relay on an iPhone, iPad or Mac, what changes afterward, and how to manage it for only one website or network.

How to Turn Off iCloud Private Relay on iPhone or iPad
The steps are almost identical on iPhone and iPad. The exact menu layout may vary slightly depending on your iOS or iPadOS version.
If Your Apple Account Does Not Have Access to iCloud+
Private Relay is an iCloud+ feature. If you use only the free iCloud plan and do not receive iCloud+ through Apple One or Family Sharing, Private Relay is not active, so you do not need to turn it off.
Don’t see or can’t open Private Relay?
If the Private Relay option is missing, does not open or shows no usable controls, first confirm that your Apple Account has access to iCloud+. Also check that your software supports the feature and that Private Relay is available in your country or region.
If Your Apple Account Has Access to iCloud+
Follow these steps to turn off iCloud Private Relay on your iPhone or iPad:
- Open the Settings app.
- Tap your Apple Account name.
- Tap iCloud.
- Select Private Relay.
- Tap the Private Relay setting to turn it off.
- Select the temporary or complete option shown on your device.
Depending on your software version and interface language, you may see options such as Turn Off Until Tomorrow or Turn Off Private Relay.
The temporary option turns Private Relay back on automatically within 24 hours. It does not necessarily wait until midnight.
The complete option keeps Private Relay disabled on that device until you manually turn it on again.

How to Turn Off iCloud Private Relay on Mac
These steps work for MacBook Air, MacBook Pro, iMac and Mac mini models running supported macOS versions.
The same iCloud+ requirement applies on Mac. If your Apple Account does not have access to iCloud+, there is no active Private Relay feature to disable.
- Open System Settings.
- Click your Apple Account name.
- Select iCloud.
- Open Private Relay.
- Turn off Private Relay.
- Choose whether to disable it temporarily or completely.
Depending on your macOS version and interface language, you may see options such as Turn Off Until Tomorrow and Turn Off Private Relay.
The temporary option on Mac also turns Private Relay back on automatically within 24 hours.
Ultra-Thin MagSafe Back Plate Series
ZEERA MagSkin Air Ultra-Thin Magnetic Plate
- Only 0.3mm thin
- MagSafe compatible
- Preserves Air feel
- Light back guard
- Case-free carry

ZEERA MagSkin Pro Ultra-Thin Magnetic Back Plate
- Ultra-thin Pro fit
- MagSafe compatible
- Bare-phone feeling
- Camera deco guard
- Minimal daily carry

ZEERA AirFlat Lens Cover for iPhone Air
- Makes back flat
- Stops desk wobble
- Protects camera lens
- Slim matching look
- Easy clean design

What Happens If You Turn Off iCloud Private Relay?
Turning off Private Relay does not delete your iCloud data, cancel iCloud+ or stop Safari from working.
The traffic covered by Private Relay no longer receives the same IP address and browsing-privacy protections.
| Feature | What Changes |
|---|---|
| Safari | Safari continues to work normally. |
| IP address | Websites may see your actual IP address. |
| Location | Websites may estimate your actual region more accurately. |
| Browsing privacy | Private Relay protection is removed from the affected device, website or network connection. |
| iCloud Photos | No impact. |
| iCloud Backup | No impact. |
| iCloud Drive | No impact. |
| iCloud+ subscription | Your subscription remains active. |
| Other Apple devices | Turning off Private Relay in iCloud settings affects that device. A Wi-Fi network exception can apply across devices signed in to the same Apple Account. |
Private Relay normally sends protected requests through two separate internet relays. This helps prevent one party from connecting your original IP address with the websites you visit.
Turning it off removes that separation for the affected device or connection, but your photos, backups, files and other iCloud services remain unchanged.
How to Temporarily Allow One Website to See Your IP Address
If only one website is not working, you do not need to turn off Private Relay across the entire device.
Safari can temporarily allow that specific website to see your IP address. This is not the same as completely disabling Private Relay for every website.
On iPhone or iPad
- Open the affected website in Safari.
- Tap the Page Menu button in the address bar.
- Tap Show IP Address.
- Confirm the action if prompted.
On Mac
- Open the affected website in Safari.
- Choose View from the menu bar.
- Select Reload and Show IP Address.
This gives the website access to your IP address and removes Private Relay protection for that website connection.
If the option does not appear, update your iPhone, iPad or Mac to the latest available software and try again.
ZEERA MagSafe Wireless Charging Series
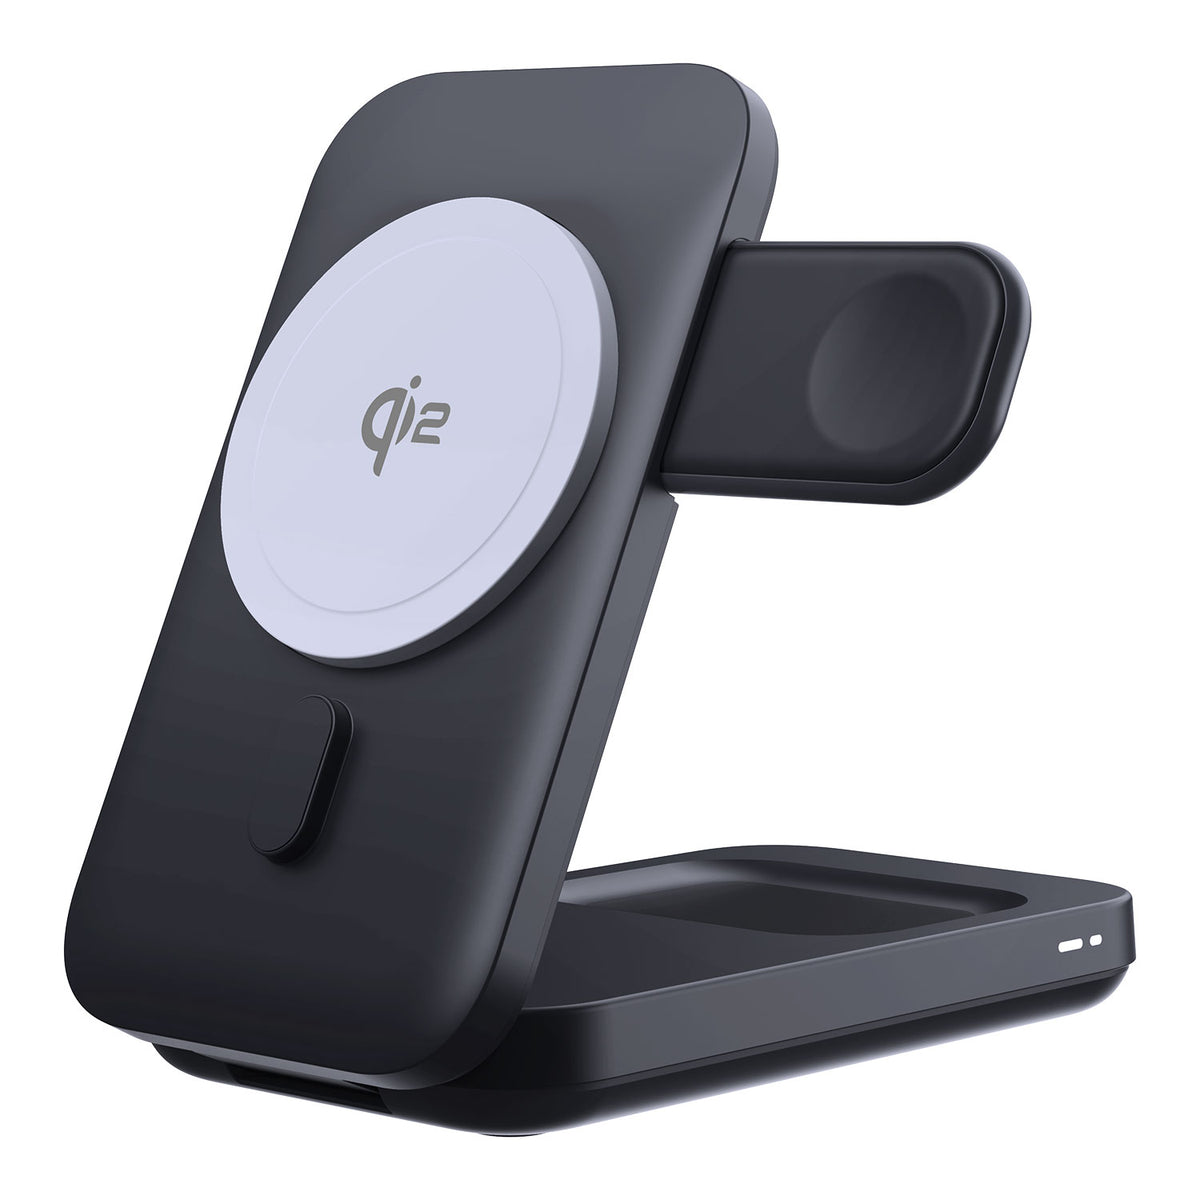
ZEERA MagTri Gen2 Qi2.2 Foldable MagSafe Charger
- 25W Qi2.2
- 3-in-1 fold
- Active cooling
- Travel size
- 3-device ready
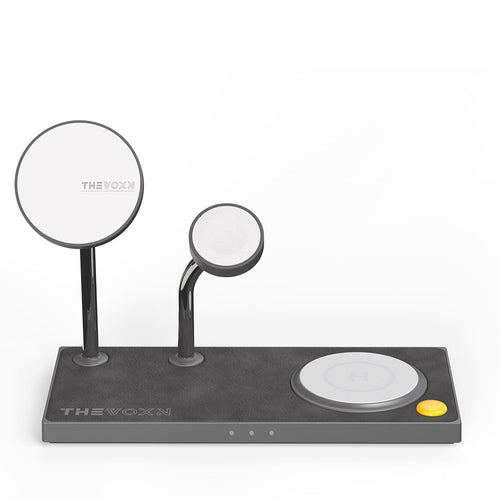
ZEERA MagSion 5-in-1 Dual MagSafe Charger Stand
- Dual MagSafe
- 5-in-1 stand
- Watch charging
- Angle adjust
- Clean setup
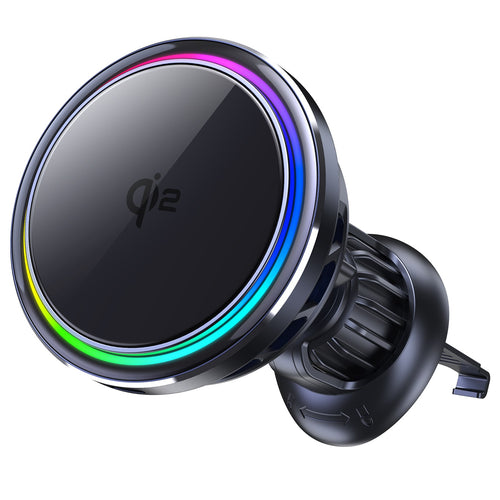
ZEERA SuVolt Gen5 Qi2.2 Active Cooling Car Charger
- 25W Qi2.2
- Active cooling
- Strong magnet
- CarPlay ready
- Heat control
How to Turn Off Private Relay for One Wi-Fi or Cellular Network
Some hotel, airport, business or school networks use IP filtering, traffic monitoring, parental controls or browser sign-in pages that may not work correctly with Private Relay.
In that situation, change Limit IP Address Tracking for the affected connection instead of disabling Private Relay everywhere.
For One Wi-Fi Network on iPhone or iPad
- Open Settings.
- Tap Wi-Fi.
- Tap the Info button, shown as a circular i icon, next to the Wi-Fi network.
- Turn Limit IP Address Tracking off.
If you turn off Limit IP Address Tracking for a Wi-Fi network on your iPhone, Private Relay is turned off for that network across your devices where you are signed in to the same Apple Account.
For Cellular Data
- Open Settings.
- Tap Cellular or Mobile Service.
- If your iPhone has one cellular line, tap Cellular Data Options. If it has multiple lines, select the relevant line under SIMs.
- Turn Limit IP Address Tracking off.
The setting is specific to the physical SIM or eSIM selected on your iPhone. Dual-SIM users should check each line separately.
For Wi-Fi or Ethernet on Mac
- Open System Settings.
- Select Network.
- For Wi-Fi, select Wi-Fi and click Details next to the connected network.
- For Ethernet, select the Ethernet connection and click Advanced.
- Turn Limit IP Address Tracking off.
If you switch between Wi-Fi and Ethernet, apply the setting to each network separately.
Should iCloud Private Relay Be On or Off?
Most iCloud+ users should leave Private Relay on when their normal websites and networks are working correctly.
Keep Private Relay On If:
- You want to reduce IP-based tracking while browsing.
- Safari and your usual websites work correctly.
- You regularly connect to public Wi-Fi networks.
- You do not rely on business or school traffic-filtering systems.
- You do not need websites to identify your region more precisely.
Turn It Off Temporarily If:
- A website refuses to load or repeatedly asks for verification.
- A login or payment page does not work correctly.
- A website displays content for the wrong country or region.
- A hotel, office or school network reports an incompatibility.
- A VPN, internet filter or network extension causes a warning on Mac.
Start with the narrowest solution. Allow one website to see your IP address if the issue affects only that site, or change the setting for one network if the problem occurs only on that connection.
Completely turning off Private Relay is more appropriate when the problem affects several websites or networks and you are trying to identify the cause.
Can You Turn Off iCloud Private Relay in Chrome?
Chrome does not have its own iCloud Private Relay setting, and it does not provide the same Private Relay integration as Safari.
Apple describes Private Relay as primarily protecting Safari browsing while also covering DNS name-resolution requests.
To disable Private Relay, use the iCloud settings on your iPhone, iPad or Mac. To change it for only one Wi-Fi, Ethernet or cellular connection, use the network’s Limit IP Address Tracking setting.
If a problem appears only in Chrome while Safari works normally, check Chrome extensions, cached website data, DNS settings and VPN software before assuming Private Relay is responsible.


How to Turn iCloud Private Relay Back On
On iPhone or iPad
- Open Settings.
- Tap your Apple Account name.
- Tap iCloud.
- Select Private Relay.
- Turn Private Relay on.
On Mac
- Open System Settings.
- Click your Apple Account name.
- Select iCloud.
- Open Private Relay.
- Turn Private Relay on.
If you previously turned off Limit IP Address Tracking for one Wi-Fi, Ethernet or cellular connection, return to that network’s settings and enable it again.
Turning on the main Private Relay switch may not automatically reverse a network-specific setting.
Frequently Asked Questions
Why can’t I find or open iCloud Private Relay?
Private Relay requires access to iCloud+, a supported operating system and availability in your country or region.
If you use the free iCloud plan and do not receive iCloud+ through Apple One or Family Sharing, Private Relay is not active. If the menu does not open or shows no usable controls, check your iCloud+ access and account status first.
If you expect to have iCloud+ access, confirm that you are signed in to the correct Apple Account and that any shared family subscription remains available.
Does turning off Private Relay cancel iCloud+?
No. Turning off Private Relay disables only that privacy feature. Your iCloud+ subscription and its other features remain active.
Does it affect iCloud Photos, backups or iCloud Drive?
No. Turning off Private Relay does not delete or disable iCloud Photos, iCloud Backup or files stored in iCloud Drive.
Are the steps different on iPhone 14, 15, 16 or 17?
The steps are generally the same on supported iPhone models. Small differences usually depend on the installed iOS version rather than the iPhone model.
Why did Private Relay turn itself back on?
You may have selected Turn Off Until Tomorrow. Apple states that this option automatically turns Private Relay back on within 24 hours.
Private Relay can also turn off automatically when you enter a country or region where it is unavailable and turn on again when you return to a supported region.
Is iCloud Private Relay the same as a VPN?
No. Private Relay is not a traditional full-device VPN. It does not let you choose a server or country, and it does not route all third-party app traffic in the same way as Safari browsing.
Bottom Line
If you use only the free iCloud plan, Private Relay is not active and there is nothing to disable.
If you have access to iCloud+ and only one website is causing problems, first allow that website to see your IP address instead of disabling Private Relay everywhere.
If the issue affects only a hotel, office, school, Wi-Fi, Ethernet or cellular connection, turn off Limit IP Address Tracking for that network.
Completely turning off iCloud Private Relay should usually be reserved for broader compatibility problems or temporary troubleshooting. Most iCloud+ users should leave it enabled when their usual websites and networks are working correctly.
Related Reading
- iPhone Privacy Settings You Should Change for Better Security
- How to Fix iPhone Wi-Fi Problems: Common Issues and Solutions
- How to Update iPhone Software and Install iOS Updates