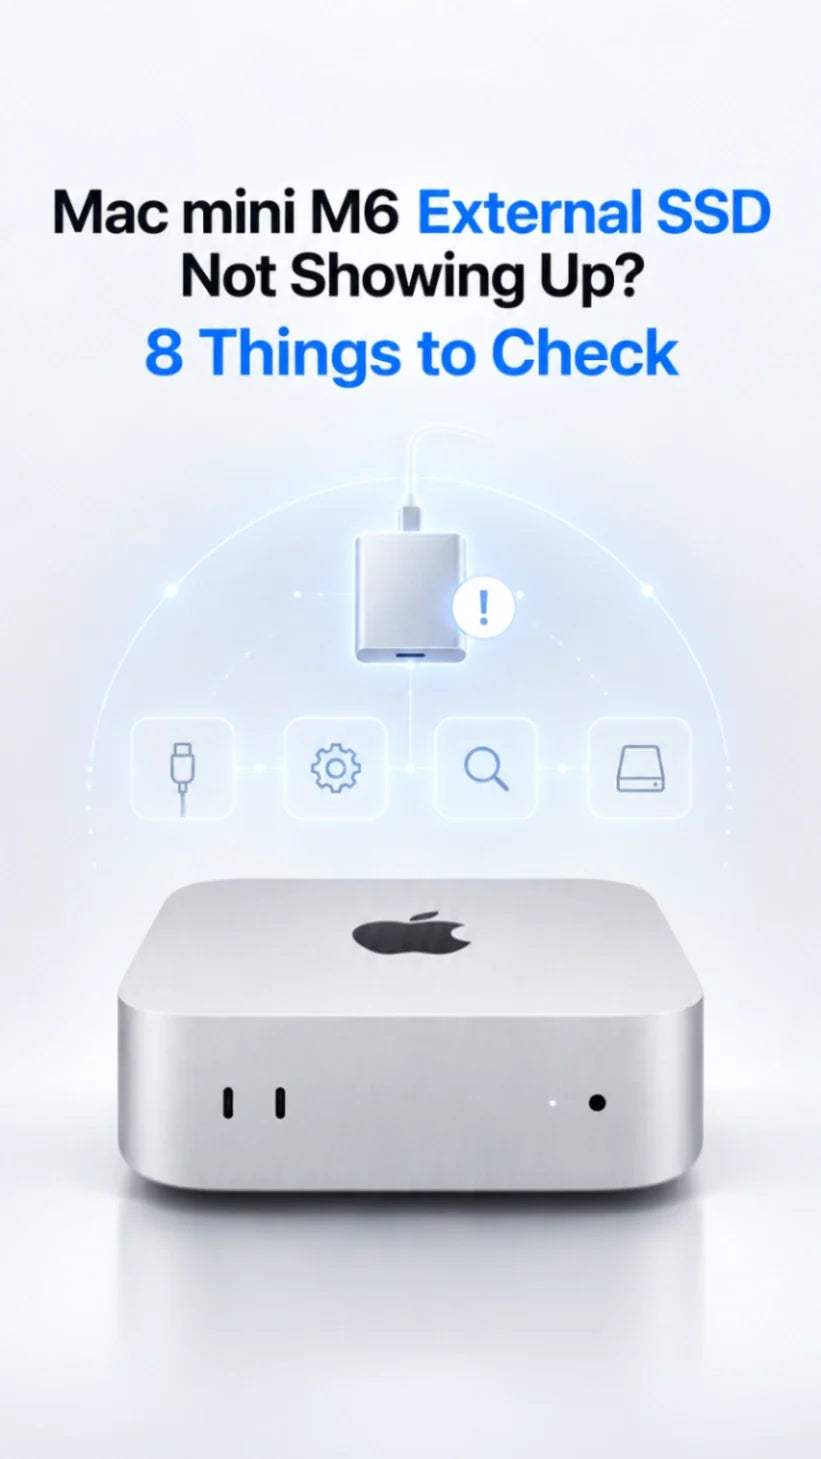
If your external SSD is missing on a Mac mini M6, check whether it is hidden in Finder or visible but unmounted in Disk Utility.
Then test a known-good data cable and connect the drive directly to a compatible Mac mini port, without a hub or monitor.
If Disk Utility detects it, try Mount and, after protecting important data, First Aid.
If the Mac detects the device but cannot read the volume, check its file system, encryption and enclosure compatibility.
Never choose Erase or Initialize to recover files you still need: both can destroy access to existing data.
First, find out where the SSD disappears
“Not showing up” can mean three different things. A drive absent only from the Finder sidebar needs a different fix from a drive that macOS cannot see at all.
ZEERA recommends isolating one part of the connection at a time. These are general troubleshooting steps, not a claim that every Mac mini M6 has an SSD recognition defect. If the same drive appears and later ejects, use our separate external SSD disconnecting guide.
8 things to check when your Mac mini M6 cannot see an external SSD
1. Show external disks in Finder
Open Finder, choose Finder > Settings, and select External disks under both General (desktop) and Sidebar (Finder windows). Expand Locations in the sidebar if it is collapsed.
This changes where a mounted drive is displayed. It will not make an undetected SSD connect. Apple documents these Finder visibility options in its connected devices guide.
2. Open Disk Utility and try Mount
Open Applications > Utilities > Disk Utility, then choose View > Show All Devices. Look for the physical SSD, the container and the indented volume. If the volume is gray or marked unmounted, select that volume and click Mount.
If the drive uses encryption, enter its password when prompted. A physical device appearing without a usable volume is a different problem from a hidden Finder icon. If Mount fails, record the exact error before doing anything destructive. Apple explains that mounting an ejected volume makes it available in Finder: Mount a volume.
3. Change the cable and verify its data support
Use the SSD or enclosure maker’s supplied cable, or a known-good cable rated for the required USB or Thunderbolt connection. USB-C is the plug shape; a cable that charges a phone may not provide the data link your SSD needs. Fully seat both ends and avoid loose adapters or extension cables during the test.
Try a second cable even if the first works with another low-speed device. For a Thunderbolt-only enclosure, use a compatible Thunderbolt cable and port rather than assuming every USB-C path is equivalent.
4. Bypass the dock, display hub and port extensions
Connect the SSD directly to one of the Mac mini’s compatible ports. Remove the dock, monitor USB port, KVM, multiport adapter and case port extension from this test. If the SSD has a separate power supply, connect it correctly; if you are using a bus-powered hub, try a properly powered alternative after the direct test.
Test another compatible Mac mini port. If direct connection works, reconnect accessories one by one to identify the failing link. A desk enclosure can organize ports and storage, but it cannot repair a weak cable, incompatible protocol or failing SSD.
5. Check whether macOS detects the enclosure
Hold Option, open the Apple menu and choose System Information. Inspect the USB and Thunderbolt/USB4 sections for the enclosure, depending on its connection. You can also check Storage for a recognized volume.
System Information is a diagnostic clue, not proof that the files or SSD itself are healthy. It also helps separate an external-drive issue from a problem with the Mac’s internal storage; see our M6 internal SSD and upgrade guide for that distinction.
6. Run First Aid only after considering your data
If the SSD appears in Disk Utility but the volume will not mount, back up any accessible files first. Select the volume and run First Aid; if the drive has containers and a physical device, follow Apple’s order from volumes upward. First Aid checks and may repair file-system or directory errors. It does not repair a dead enclosure or broken cable.
If the data is irreplaceable, the drive makes unusual sounds, or First Aid reports an error it cannot repair, stop repeated writes and seek a qualified recovery service. Apple also advises checking the external device’s cable, connection and power: Repair a Mac storage device with Disk Utility.
7. Check file system, encryption and the “Initialize” prompt
An SSD used with Windows, Linux, a camera or a NAS may have a partition or file system macOS cannot use normally. A locked encrypted volume may need its password or original software. If you see “The disk you attached was not readable by this computer”, do not assume the drive is blank.
If it contains important files, test it on the system that last opened it and copy the files to another disk. If it is genuinely new or already backed up, you can erase and format it in Disk Utility for your intended workflow. Erase removes the existing contents. APFS is a common Mac-only choice; exFAT can be useful for Mac and Windows sharing, subject to device requirements. See Apple’s external drive formatting instructions.
8. Cross-test the SSD, then update or replace the failing part
Restart the Mac mini and install an available stable macOS update after backing up. Check the SSD and enclosure manufacturer’s support pages for a relevant firmware update or known compatibility issue. Do not flash enclosure firmware just because a drive icon is missing.
Test this SSD and cable on another computer, then test a known-good drive on the same Mac mini port. A failure that follows the SSD or enclosure points toward that device; several different drives failing on one port points toward the port or connection path. If nothing in Disk Utility or System Information sees the SSD on two computers with known-good cables, contact the drive maker or a data recovery specialist before reformatting.
What if the SSD shows up only after reconnecting?
A drive that mounts briefly and vanishes is a connection or stability problem, even if Finder temporarily looks normal. Check the cable, enclosure power, hub and whether it fails during sleep or large transfers. Our Mac mini M6 SSD ejection troubleshooting guide covers that symptom in detail.
If you bought the 256GB Mac mini to store large libraries externally, keep at least one independent backup of the SSD. External capacity is useful, but it is not a replacement for protecting your only copy of a project. Our 256GB versus 512GB buying guide explains the storage trade-off.
FAQ
Why is my SSD in Disk Utility but not on the Mac mini desktop?
It may be mounted but hidden by Finder settings, or visible as an unmounted volume. Check Finder > Settings > General for External disks, then use Disk Utility to check its mount state.
Can I fix a missing external SSD by clicking Initialize?
Initialize opens Disk Utility; it is not a data recovery step. Do not erase or repartition the device if you need the files already on it.
Does Mac mini M6 require “Allow accessories to connect” for an SSD?
Apple’s documented accessory-approval prompt applies to Apple silicon Mac laptops. On a Mac mini, begin with the physical connection, Finder, Disk Utility and System Information rather than assuming a missing approval prompt.
Should I format the SSD as APFS or exFAT?
For a Mac-only SSD, APFS is generally the straightforward choice. For routine sharing with Windows, exFAT may be more practical. Formatting erases the SSD, so first copy off any files you need.
Will a Mac mini stand or cooler make an undetected SSD appear?
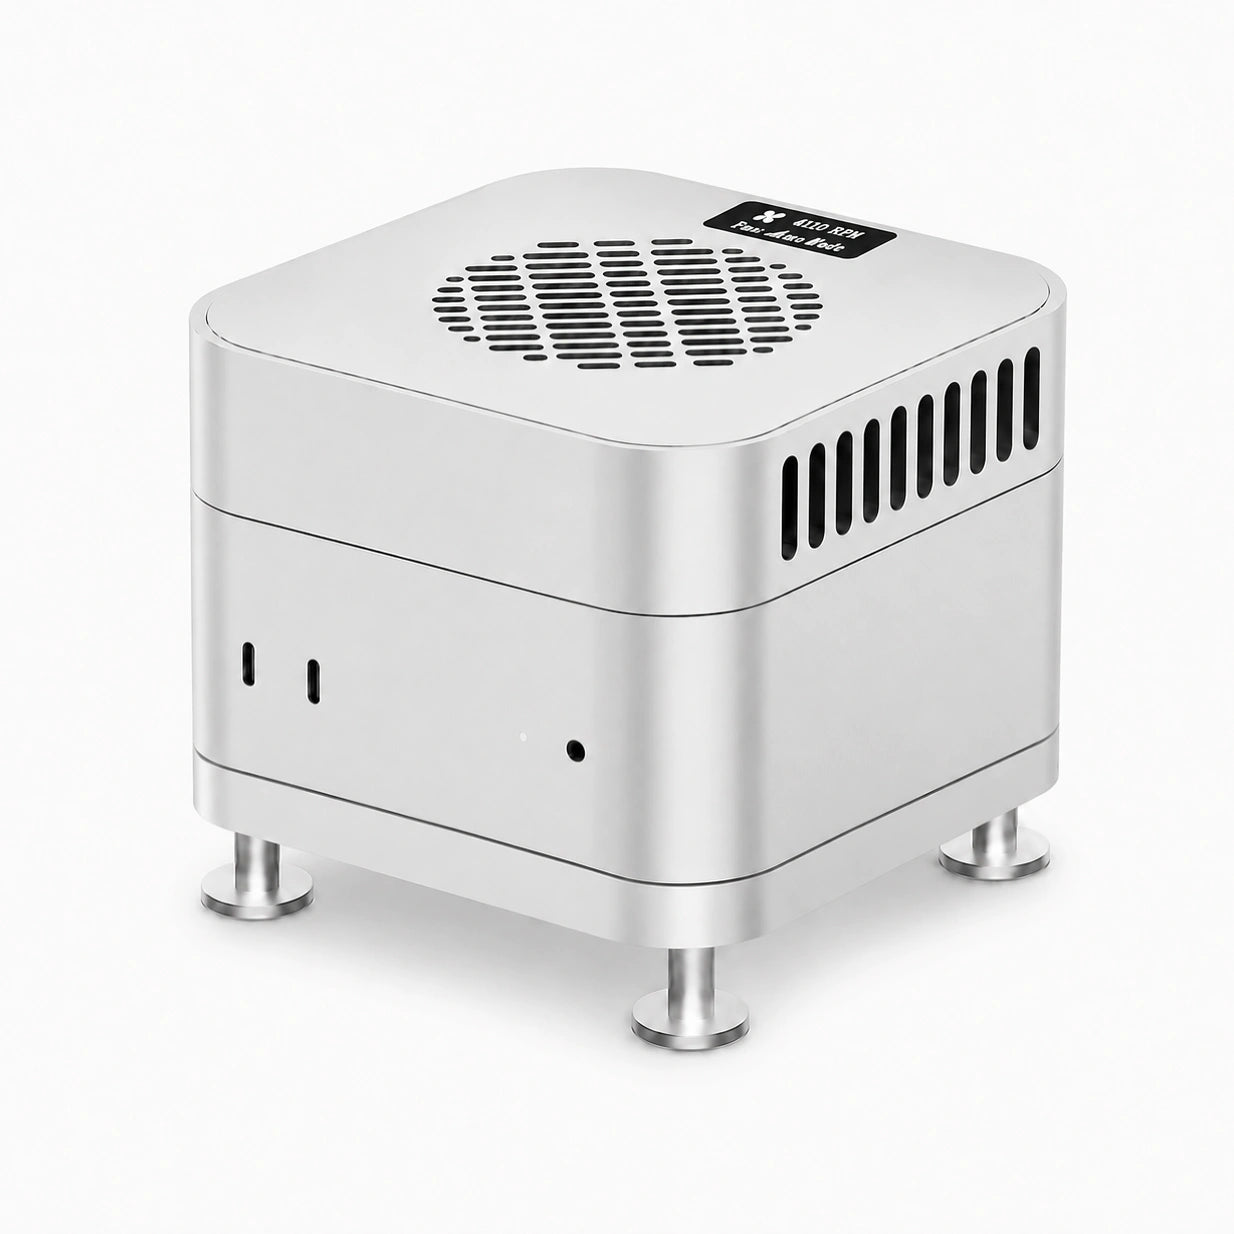
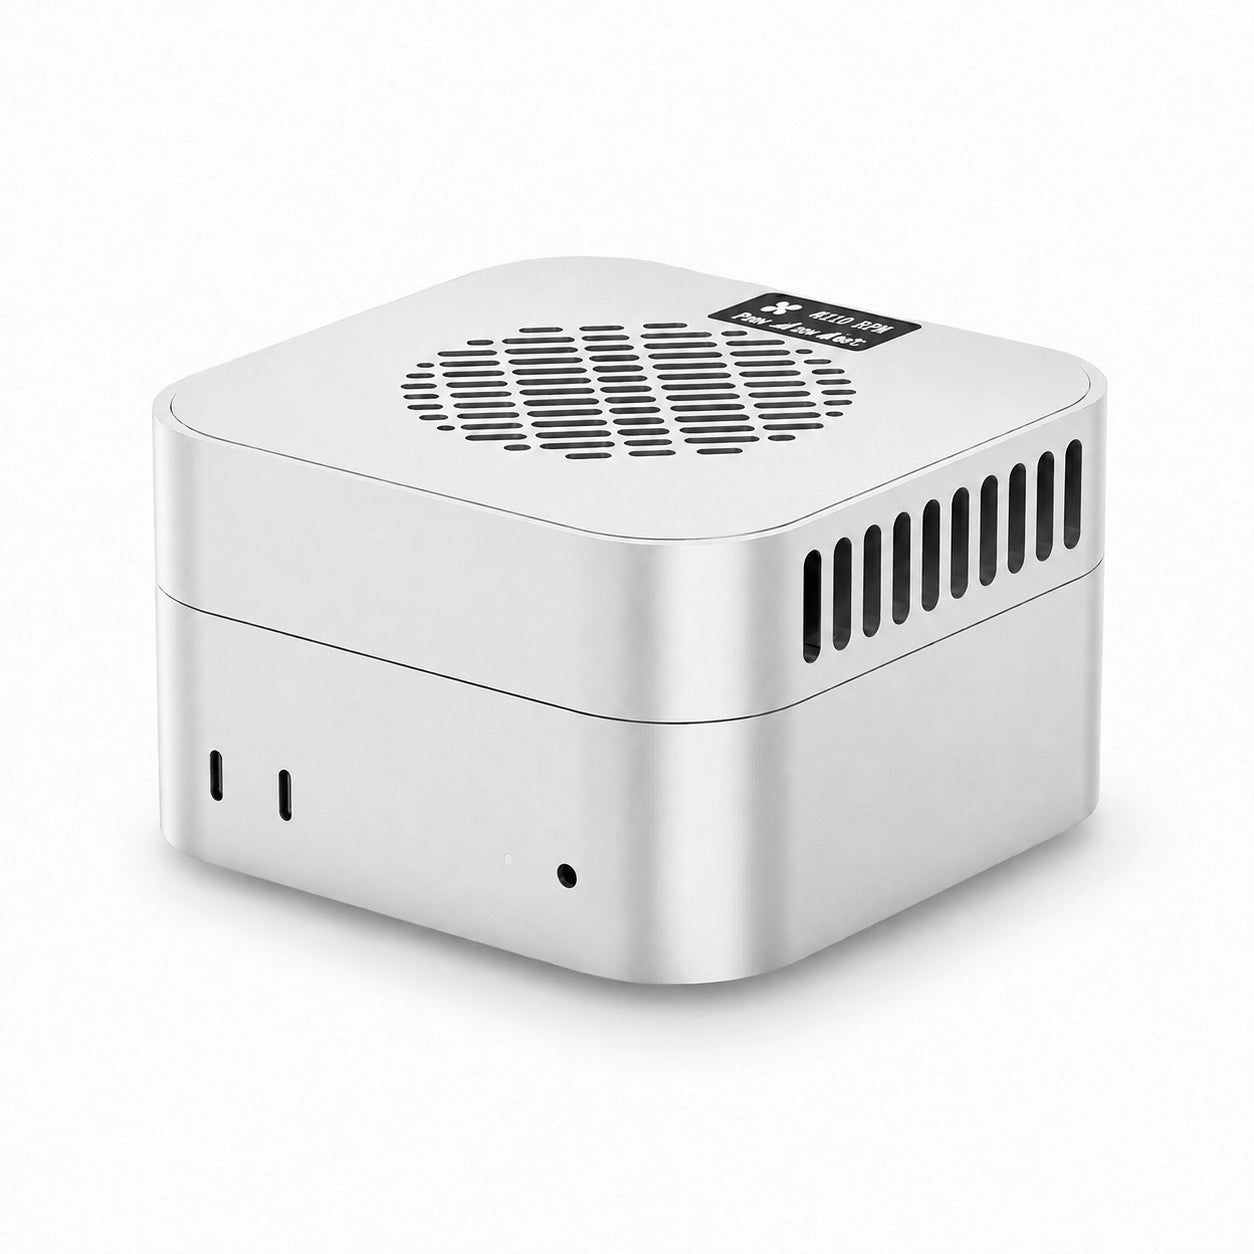
No. Diagnose the SSD with a direct connection to the Mac mini first. A stand or enclosure helps organize a working setup; cooling accessories serve thermal workloads and do not repair an unrecognized disk.
Related Mac mini guides
- Mac mini M6 external SSD keeps disconnecting or ejecting
- Mac mini M6 256GB versus 512GB SSD
- Can you upgrade the Mac mini M6 internal SSD?
- Mac mini M6 monitor not waking after sleep
- Mac mini 24/7 server setup and reliable storage
- Mac mini M6 desk setup and cable organization
- Mac mini M6 active cooler and aluminum stand