Quick Answer
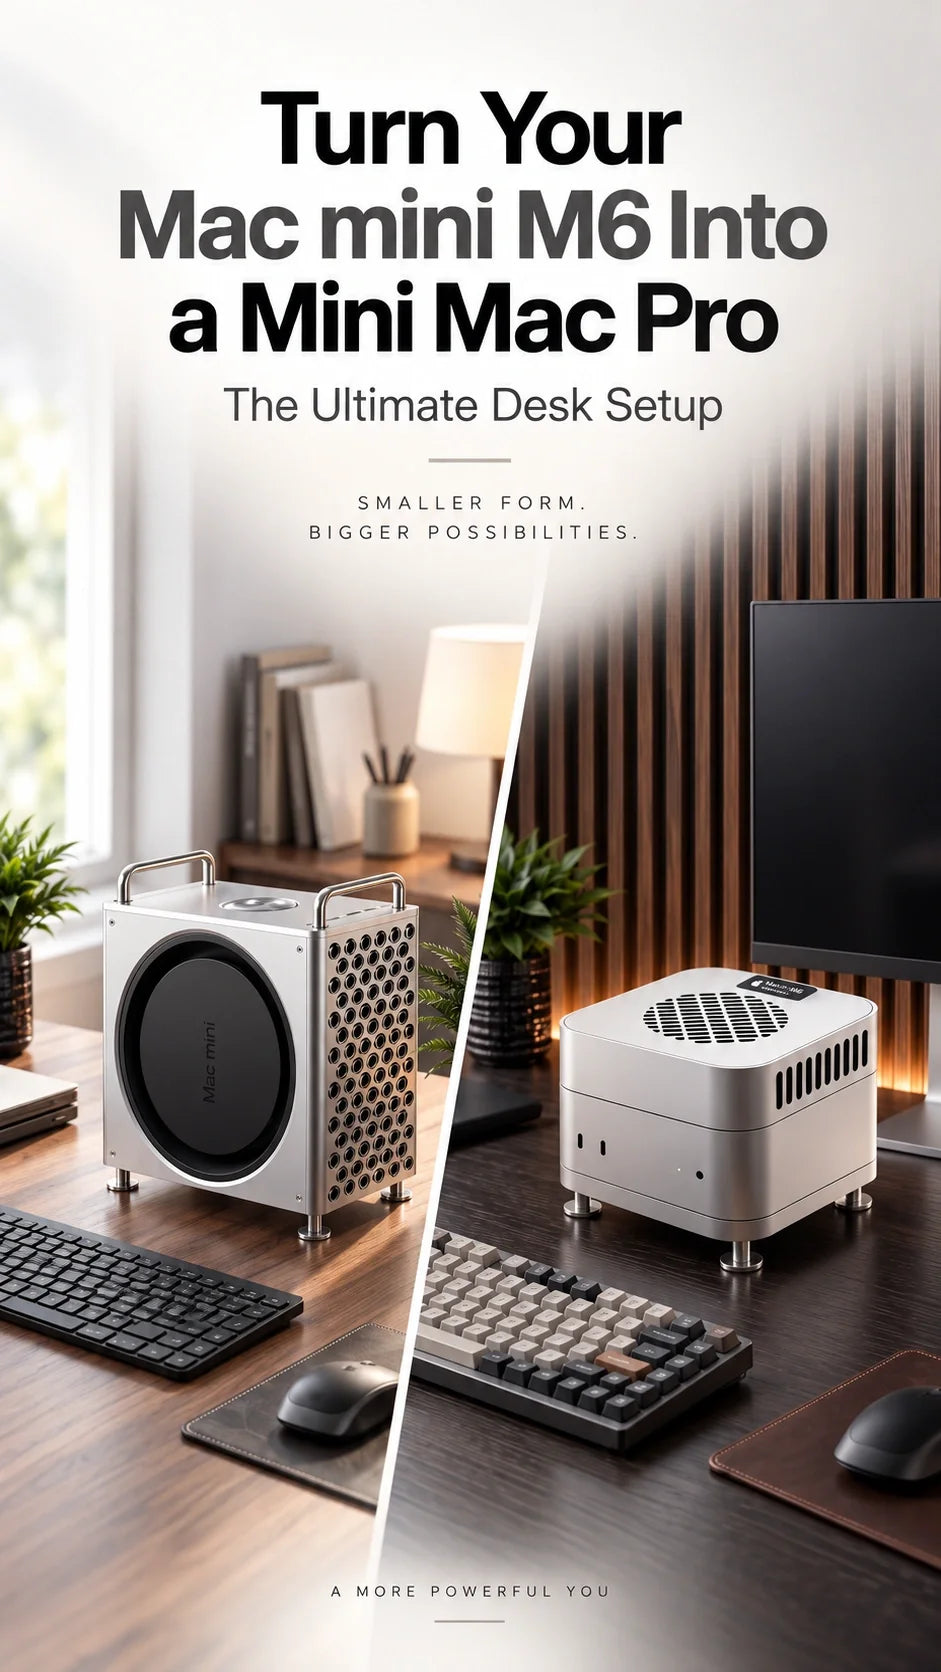
The cleanest way to turn a Mac mini M6 into a mini Mac Pro is to build the desk around the computer, not around a pile of adapters.
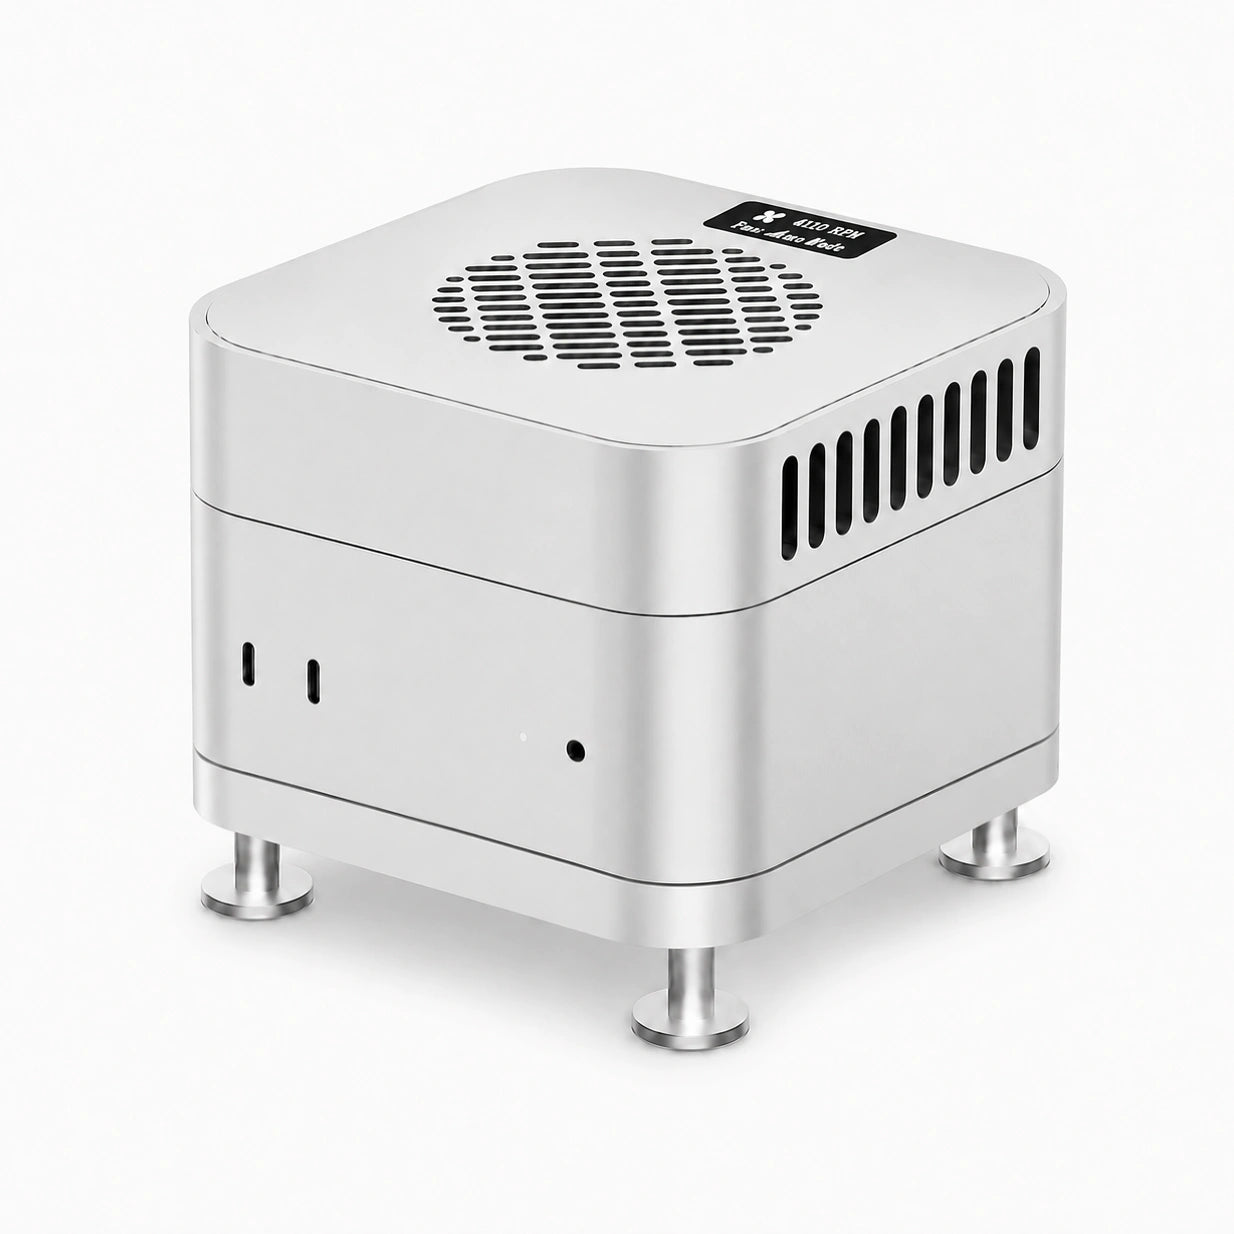
Use a MacForge Gen3 aluminum case to give the Mac mini a Mac Pro-inspired enclosure, move its front USB-C ports and headphone jack to the top, and keep an external SSD in a dedicated storage area.
Add one or two well-positioned displays, route power and permanent cables behind the desk, and reserve the top ports for devices you connect every day.
The result is a more substantial, easier-to-use workstation without pretending the Mac mini has become a modular Mac Pro.

What Makes a Mac mini M6 Desk Setup Feel “Pro”?
A professional desk is not defined by the largest monitor or the most accessories. It works because every frequently used connection is easy to reach, permanent equipment stays out of the way, and storage is placed where it does not create visual clutter.
The Mac mini M6 is a strong starting point. According to Apple’s Mac mini technical specifications, it has three rear Thunderbolt 4 ports, HDMI, 2.5Gb Ethernet, two front USB-C ports and a headphone jack. It can also drive up to three external displays. The challenge is turning that capability into a desk that still feels simple.
Step 1: Give the Mac mini M6 a Mac Pro-Style Aluminum Case
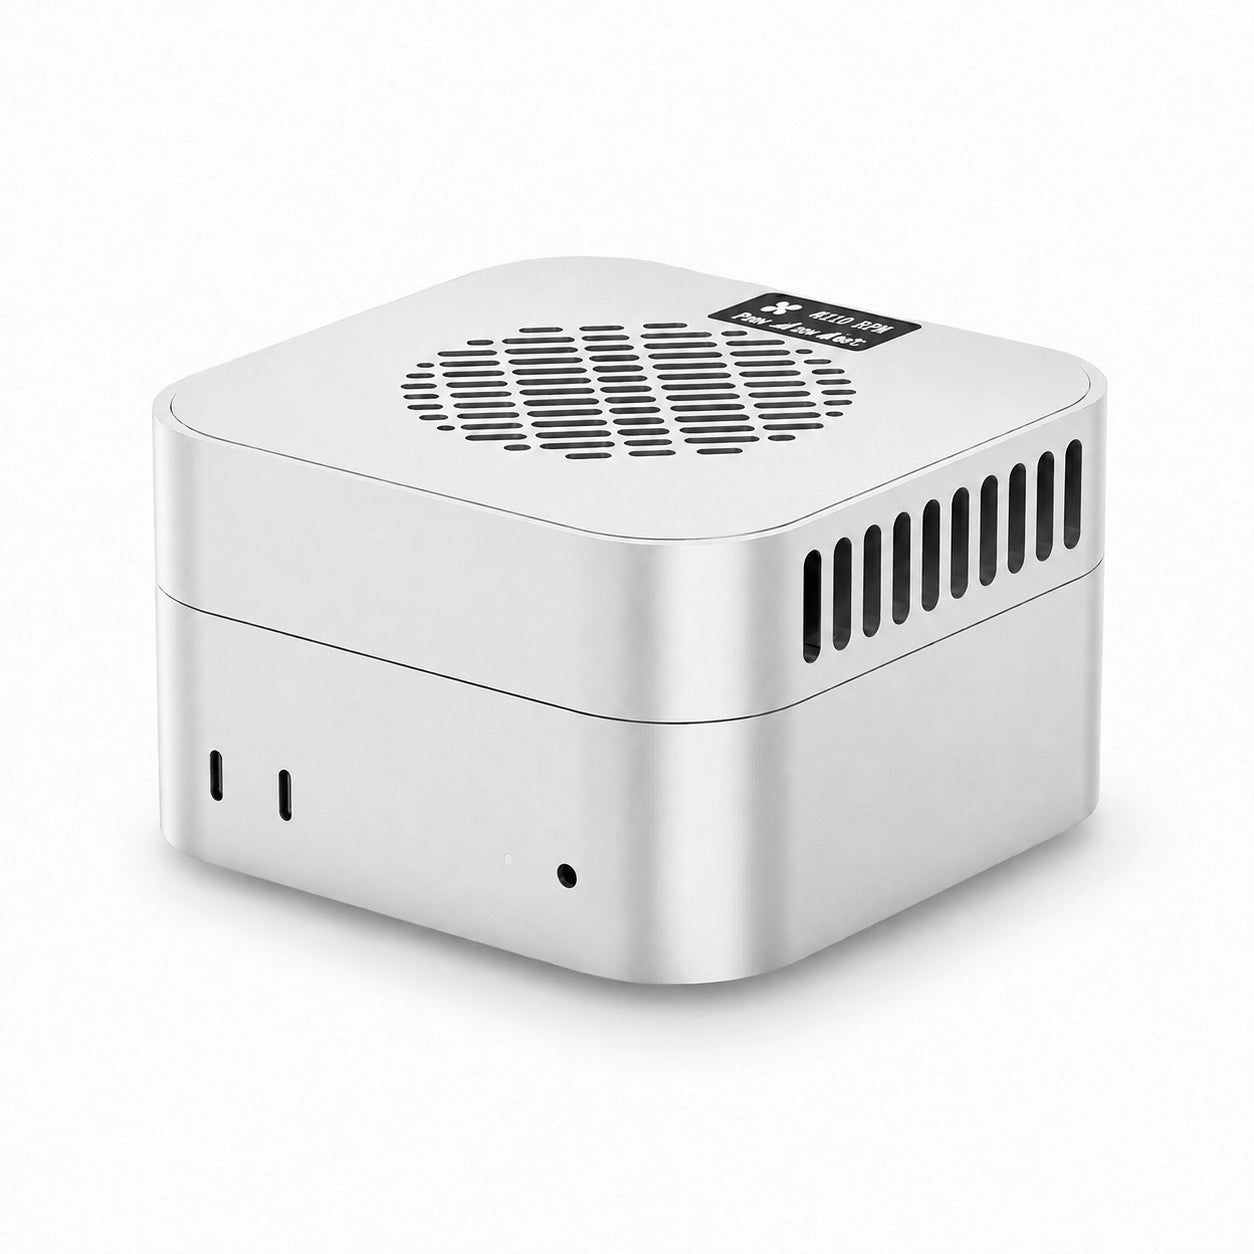
The visual upgrade starts with the enclosure. MacForge Gen3 surrounds the small 127 × 127 mm Mac mini body with a precision-machined aluminum structure and a three-dimensional grille inspired by the Mac Pro.
This is not just a decorative skin. The wider stance makes the computer feel anchored on a desk, while the brushed, hard-anodized finish matches the material language of Apple’s desktop hardware. The open grille and internal space are designed around the Mac mini’s original airflow rather than sealing it inside a solid box.
For buyers searching for a Mac Pro case for Mac mini, the important distinction is that MacForge Gen3 is an external aluminum case and stand. It changes the Mac mini’s presentation and everyday access, but it does not replace Apple’s internal chassis or components.
Choose the right MacForge Gen3 version:
SSD Storage version: best for video editors, photographers and anyone who wants an external drive stored inside the setup.
Clean Minimal version: best for cloud-first workflows or desks where external storage already lives in a hidden dock.
Step 2: Move Your Everyday Ports to the Top
The Mac mini’s front ports are useful, but they sit low on the desk. Once the computer is placed beside a monitor stand or under a shelf, reaching those ports can become awkward.
MacForge Gen3 uses a custom extension system to bring both front USB-C ports and the headphone jack to the top of the enclosure. That is where temporary connections belong: camera cards, portable SSDs, headphones, microphones and devices that move between your desk and bag.

Keep display cables, Ethernet, power and your primary dock connected at the back. This creates a simple rule: permanent cables go behind the desk; changing devices connect at the top.
Step 3: Make External SSD Storage Part of the Setup
External storage is one of the easiest ways to expand a Mac mini M6, but a loose SSD can quickly turn a clean desk into a nest of short cables and dangling drives.
The storage version of MacForge Gen3 includes a top compartment for an SSD enclosure up to 120 × 60 × 19 mm. Measure the complete enclosure—not only the NVMe drive—before ordering. Leave enough room for the connector and avoid forcing a stiff cable into a sharp bend.

A practical storage layout
Internal SSD: macOS, applications and current project files.
Fast external SSD: media libraries, scratch files, local AI models or active archives.
Separate backup drive or NAS: Time Machine and recovery copies. An SSD stored in the case is convenient, but it is not a backup by itself.
If you are still choosing the computer itself, our Mac mini M6 vs M4 benchmark and upgrade guide explains where the new model improves—and when an older Mac mini may still be enough.
Step 4: Choose a Display Layout That Matches Your Work
Apple says the Mac mini M6 supports up to three external displays through Thunderbolt and HDMI. That does not mean every desk needs three screens. Start with the work you do most often, then choose the smallest display system that keeps that work comfortable.
For the cleanest result, connect the main display directly by Thunderbolt or HDMI. Add a dock only when it solves a real port problem; a large dock full of unused connectors works against the point of a compact Mac mini desk setup.
Step 5: Route Cables in Three Layers
The difference between a good setup and a great one is usually behind the desk. Cable management becomes easier when every cable has a job and a fixed route.
- Desk surface: keep only the short cables you touch regularly, such as a camera cable or temporary SSD lead.
- Rear edge: group display, Ethernet and Mac mini power cables in one sleeve or set of clips.
- Under the desk: mount the power strip and excess cable length in a tray so no adapter hangs from a port.
Run power separately from small data cables where possible, label both ends of cables in a complex setup, and leave a gentle service loop so the Mac mini can be moved without unplugging the entire desk.
Passive Case or Active Cooling?
For web work, writing, meetings, music and shorter creative jobs, the Mac mini’s built-in cooling is normally the starting point. MacForge Gen3 adds space around the computer, preserves its original airflow path and uses its aluminum structure for passive thermal diffusion.
Active cooling serves a different use case. If your day includes long 4K or 8K exports, local AI generation, 3D rendering or large code builds, MacFrost Pro can add direct-contact thermoelectric cooling. It offers 7W, 20W and 30W modes plus automatic control, but stronger modes are also louder. It is a workload tool, not a requirement for every Mac mini owner.
For measured noise levels, cooling modes and setup details, see our Mac mini M6 active cooler and aluminum stand guide.
Three Mac mini M6 Desk Setups That Actually Make Sense
The Minimal Pro Desk
One 27-inch display, MacForge Gen3 Clean Minimal version, compact keyboard, wireless mouse and Ethernet. Best for writing, office work and a calm visual setup.
The Creator Desk
Two displays, MacForge Gen3 SSD Storage version, fast external NVMe storage, card reader and near-field speakers. Best for photo, video and audio work.
The Sustained-Load Workstation
Dual or triple displays, wired networking, dedicated external storage and MacFrost Pro for long exports or compute-heavy sessions.
The Hybrid Apple Desk
One main display, MacForge Gen3, a compact three-device charger and a clear landing zone for iPhone, Apple Watch and AirPods.
Watch the MacForge Gen3 Assembly
Before installing the Mac mini, disconnect every cable, work on a clean surface and follow the assembly order. The enclosure uses purpose-built extensions and fitted aluminum parts, so rushing the cable routing can create unnecessary tension.
Finish the Desk With One Charging Zone
A professional desk still feels cluttered if every mobile device has its own cable. Place one compact charging station on the opposite side of the monitor from the Mac mini. This visually separates the computer workspace from the area where your iPhone, Apple Watch and AirPods rest.
Is This Really a Mini Mac Pro?
In design language and desk presence, yes. MacForge Gen3 gives the Mac mini M6 the aluminum construction, grille detail and intentional workstation look that many people associate with the Mac Pro.
In architecture, no. The Mac mini does not gain PCIe expansion, replaceable graphics, extra internal storage bays or Mac Pro-level serviceability. The value of this setup is practical: better port access, organized external storage, deliberate airflow and a cleaner desk around a compact Mac.
Mac mini M6 Desk Setup Checklist
- Choose MacForge Gen3 with or without the SSD storage area.
- Measure the complete SSD enclosure before selecting the storage version.
- Pick one, two or three displays based on workflow—not empty desk space.
- Connect permanent equipment at the rear and changing devices at the top.
- Mount the power strip and excess cable length below the desk.
- Use active cooling only when sustained workloads justify the extra noise and power.
- Keep a separate backup outside the SSD stored with the computer.
FAQ
Does MacForge Gen3 work with the Mac mini M6?
Yes. The current MacForge Gen3 product is designed for Mac mini M6, M5 Pro and M4 models using the 127 × 127 mm body.
Does the Mac Pro-style case block the Mac mini’s airflow?
MacForge Gen3 is designed with additional internal air volume and airflow channels that preserve the Mac mini’s original cooling path. As with any desk setup, keep the intake and exhaust areas clear.
How large can the SSD enclosure be?
The SSD Storage version supports an enclosure up to 120 × 60 × 19 mm. Measure the enclosure itself and account for the connected cable.
How many monitors can the Mac mini M6 run?
Apple specifies support for up to three external displays. Maximum resolution and refresh rate depend on the number of displays and how they are connected.
Do I need an active cooler for a Mac mini M6 desk setup?
Not for ordinary use. An active cooler is most relevant for long exports, rendering, local AI or other sustained workloads where additional thermal headroom matters.
Is an external SSD in the MacForge case a backup?
No. It is convenient primary or project storage, but a proper backup should exist on another drive, a NAS or a cloud service.
Related Reading
- Mac mini M6 vs M4: How Much Faster Is Apple’s New Mac?
- 2 Best Mac mini M6, M5 Pro & M4 Accessories
- Best Mac mini M6 Active Cooler + Stand: MacFrost Pro
- Best Mac mini Cooling Base: MacForge Gen3 vs MacFrost Pro
- Best Mac mini M4 Setup: MacForge Gen3 & MacFrost Pro
- Explore ZEERA Mac mini Aluminum Accessories